Register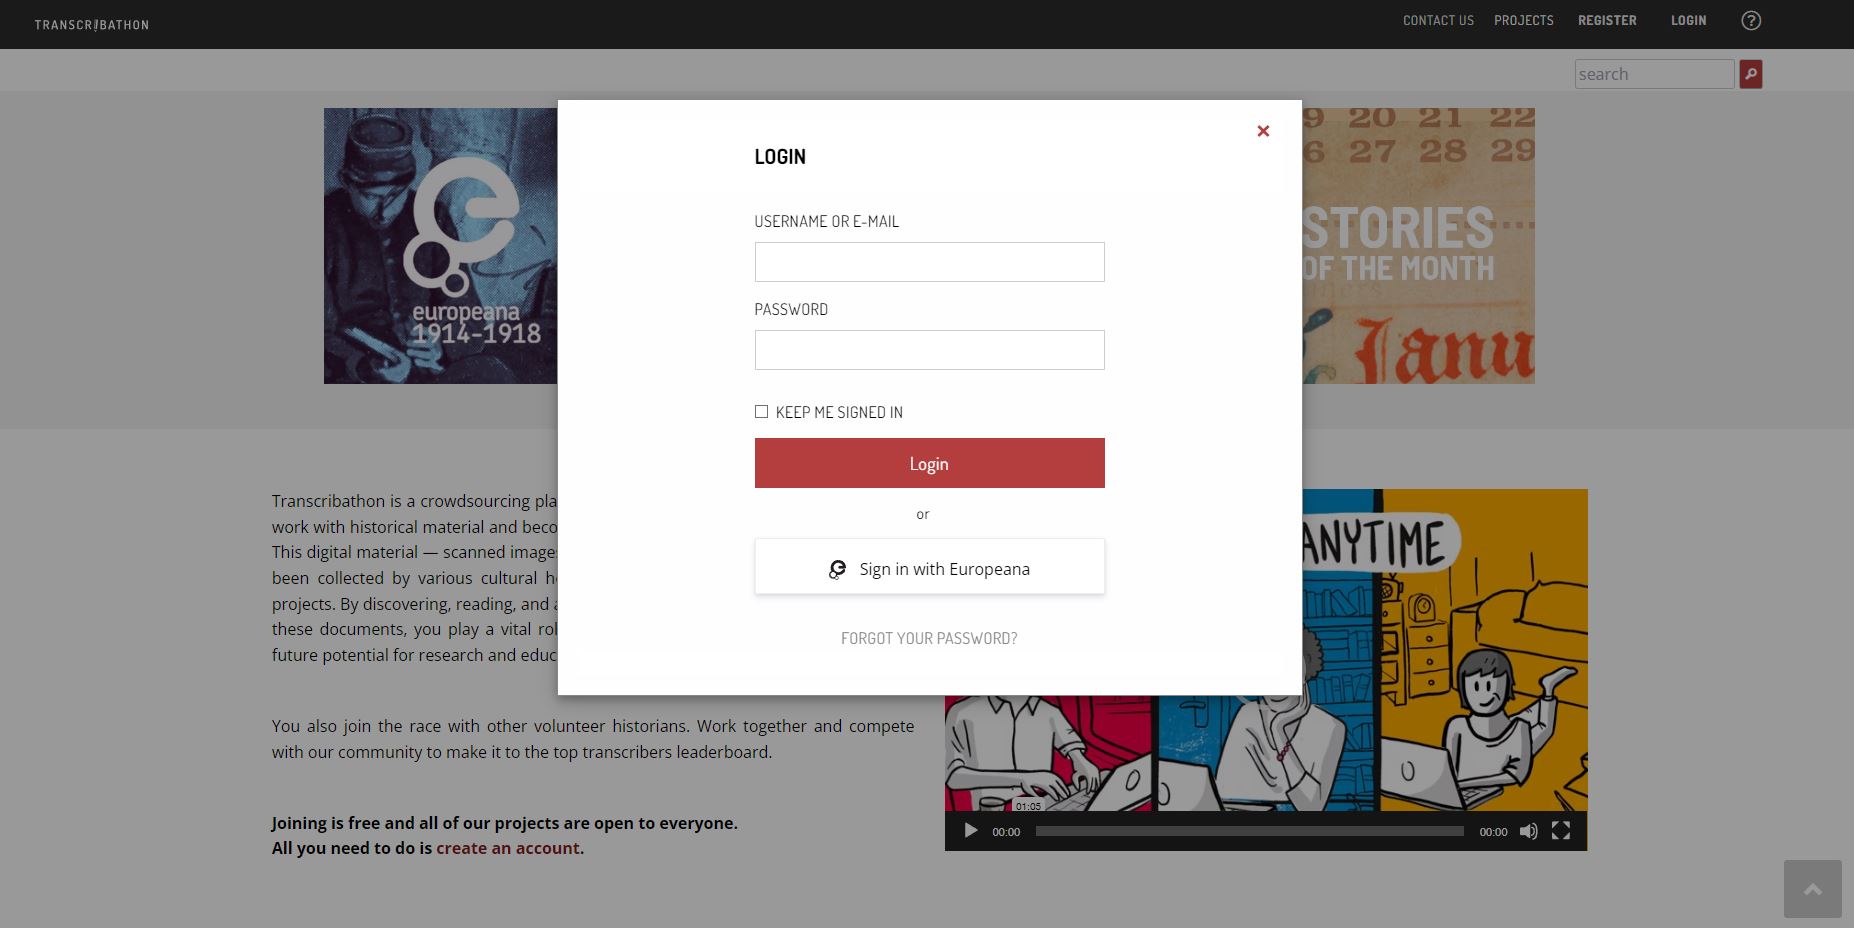
To contribute enrichments to Transcribathon, you must first create an account. You can work on all projects using one Transcribathon account. Follow the instructions on the Registration page to set up your account.
If you already have an account, go to Login.
You can also sign in using your Europeana.eu account.
 Enrich - Find a document and start transcribing
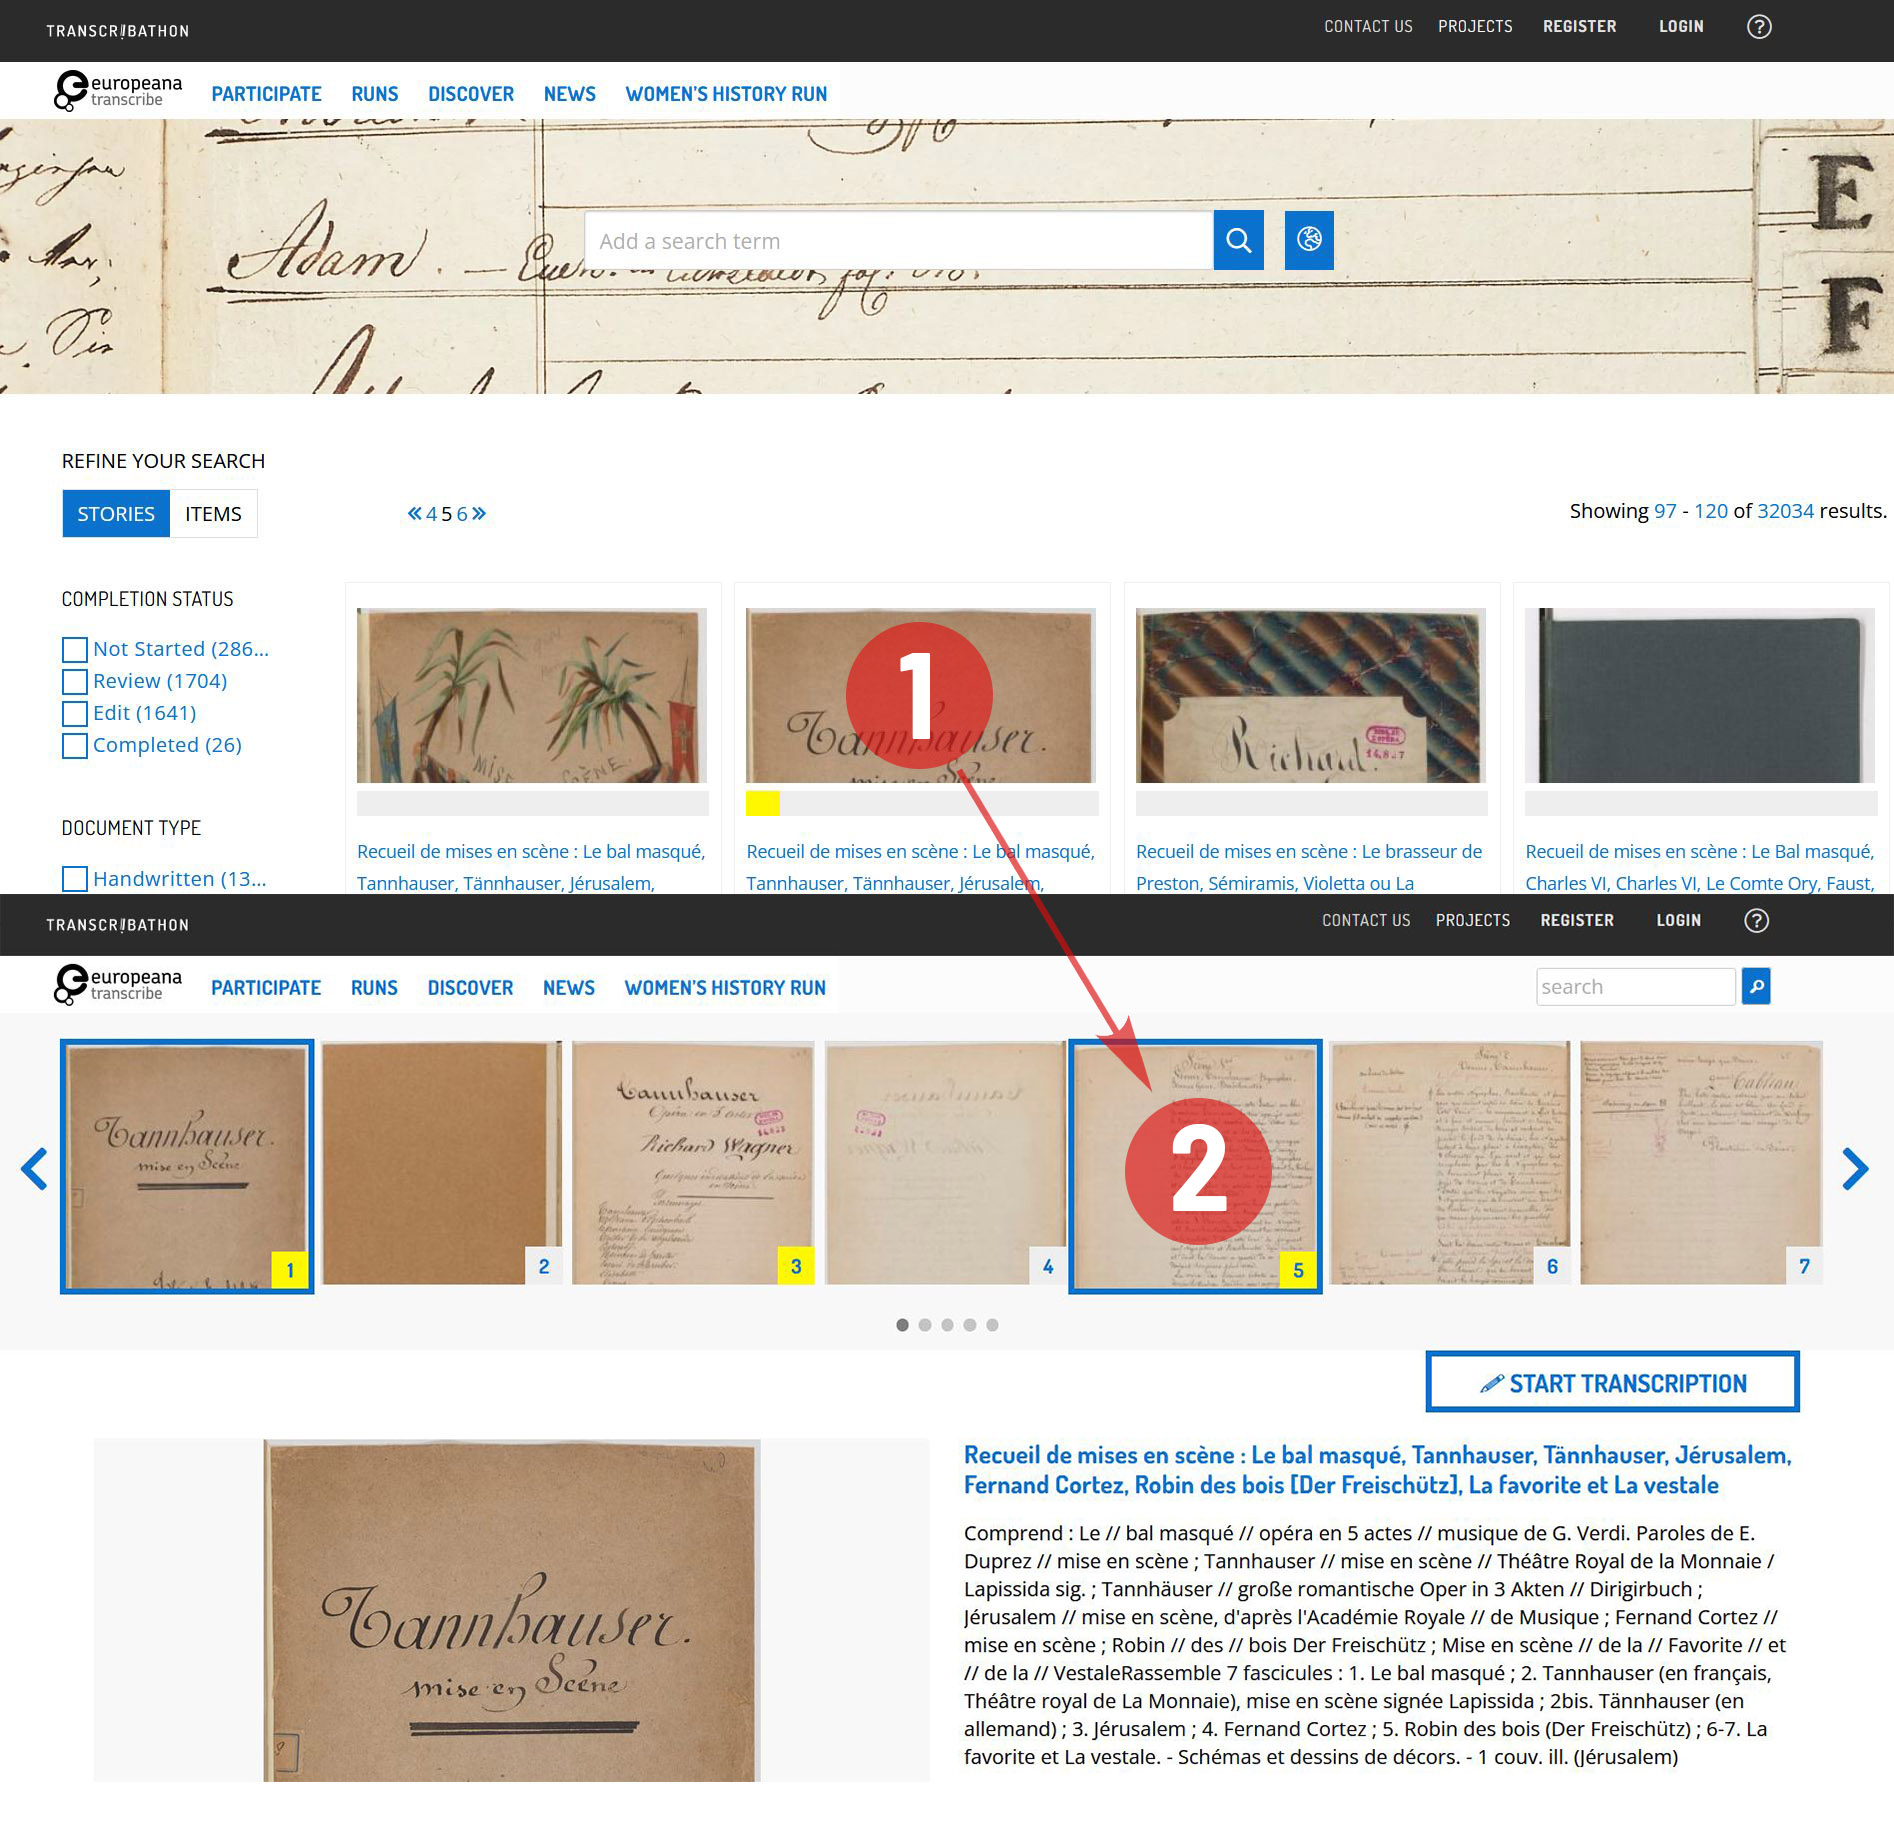
First, find an item (a single document) you want to enrich by searching and browsing the project collection on the Discover page. Here you can filter your search results by language, completion status, etc. Click on a story (1) and select an item from the story page (2), or select an item directly from your discovery results.
Additionaly, you can search for the documents on the map.
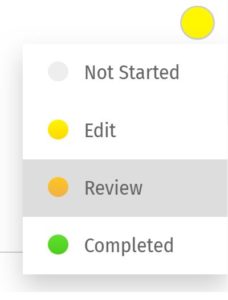
You can only add new enrichments to items marked with the grey (Not Started) or yellow (Edit) statuses. Tasks for items in the orange and green statuses are explained in the Review section of this tutorial.
 Step 1: Transcription
To start working on an item, click “Start Transcription” button above the title of the story. This will lead you to the first non-started item of the story. Alternatively, you can also click on the item of your choosing. To start transcribing, click on the pen icon on the transcription field, or maximize icon in the tool list, situated on the left side of the image.
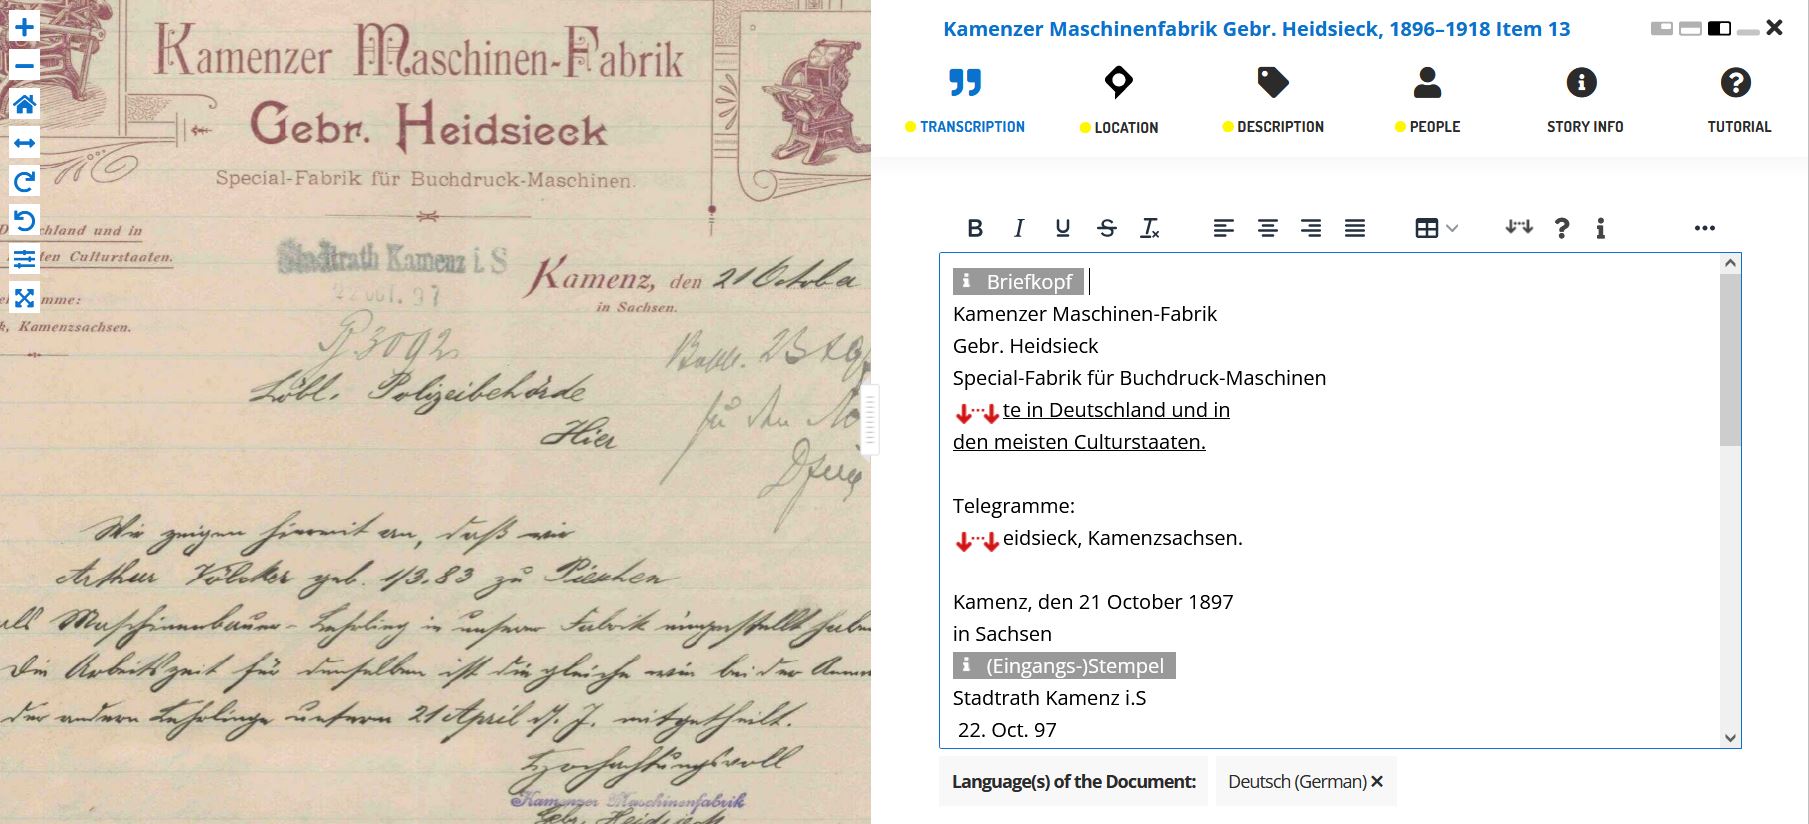
Now you are transcribing in full-screen mode as seen on the image to the right. Over the transcription field, you can find several enrichment sections for each step of your work. The tab 'Transcription' is chosen as a default.Now you can start transcribing by clicking on the pen icon (or inside the field). When needed, use the toolbar to format your text and to add special characters and tables. A guide to the transcription toolbar is available in the Formatting section of this tutorial.
Using , you can adjust the position of the window as per your preference.
Identify the language(s) of the text using the dropdown list under the transcription box. You can select multiple languages at once. If the item has no text to transcribe, tick the checkbox ‘No Text’.
Once you have finished your transcription, click 'SAVE'. We would also advice to save your work a couple of times during working.
Formatting
Use the toolbar to format your Transcription text or to add extra details to it. You can format your text using the various styles and alignment tools: use bold for headings, and italics, underline and strikethrough if they appear in the item text. You can edit the structure of the text using the alignment options , and, if the item text is arranged in a table (e.g. a registry or list), you can insert a table to mimic this structure.
You can also place extra information and markers into your transcription:
The missing text icon  is a placeholder for gaps in your transcription text. Use it to mark words or sections of the text you did not or cannot transcribe, so that the next volunteer can pick up on it.
If you are unsure whether a word or section in the transcription is correct, highlight it with![]() .
.
Highlight text using the  to add a remark or to identify wherever an image or any other notable feature appears in the document.
You can also insert a special character if it appears in the item text.
Use the Clear Formatting ![]() button to remove any formatting changes.
button to remove any formatting changes.
 Step 2: Locations
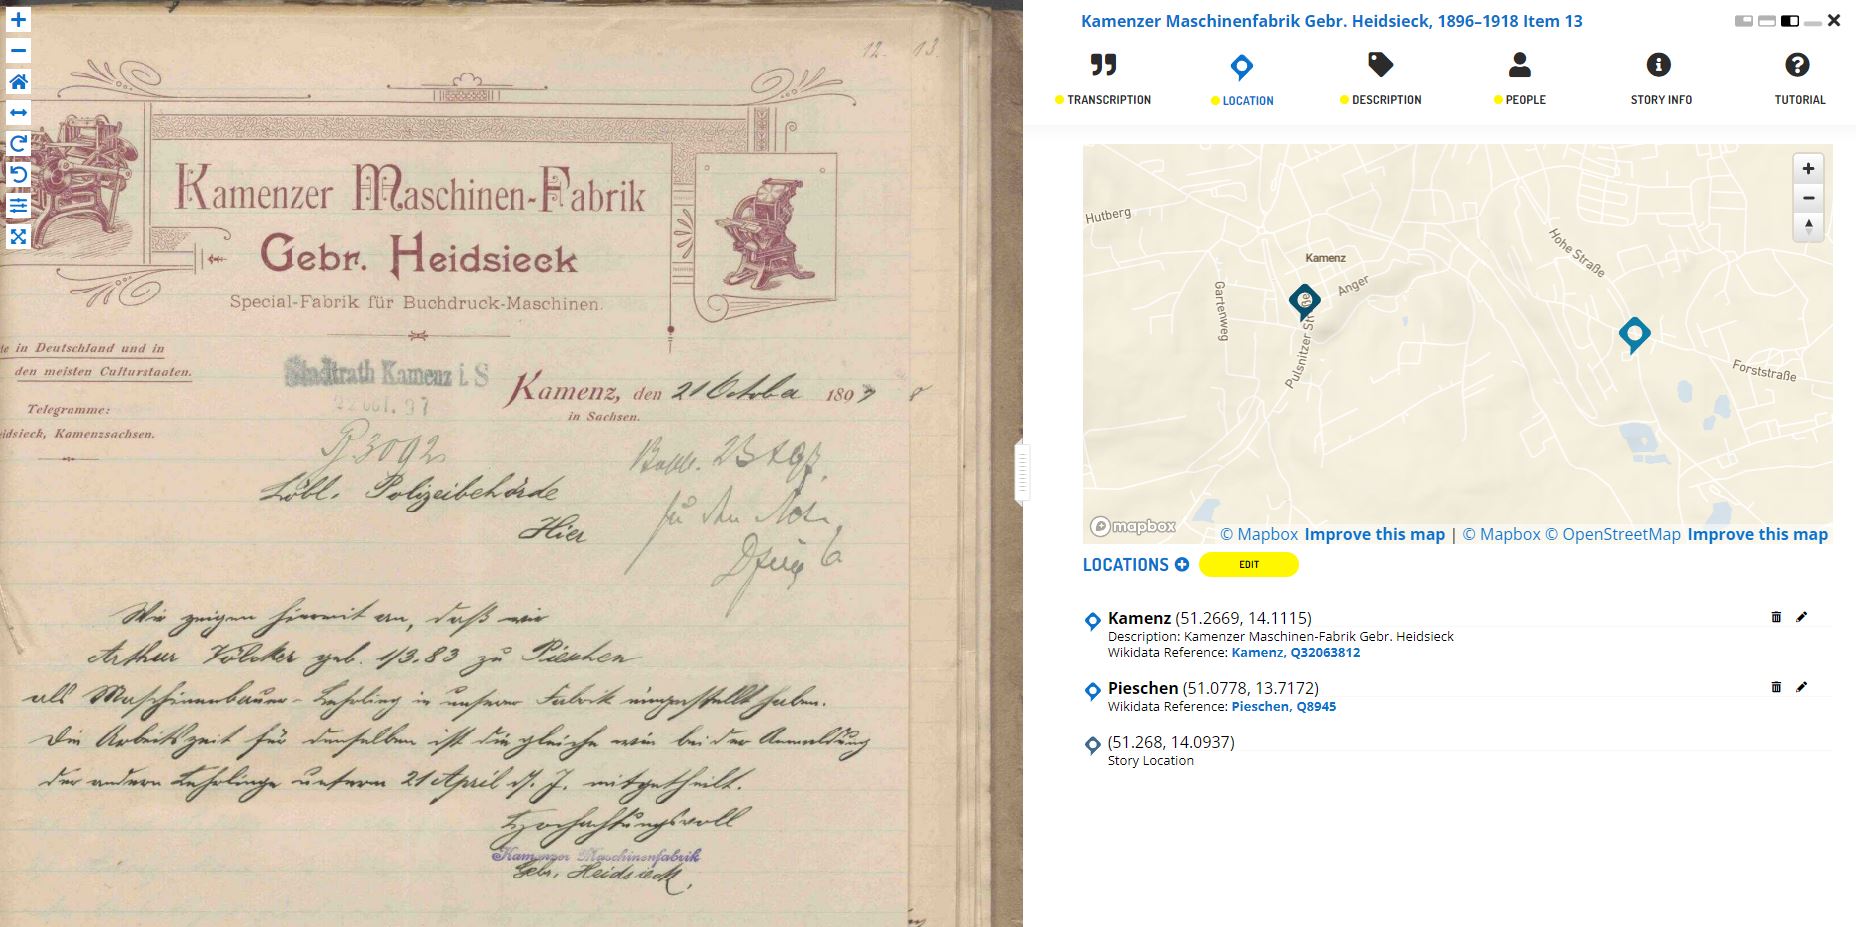
Next step is adding locations. select the 'Location' tab at the top menu of the Activity Panel. . Click on the plus next to the heading LOCATIONS.
If you find a location mentioned or recognise a place in the item, you can create a geotag and pin it to the item map. Multiple locations can be attached to the item.
Type the location into the search bar and select the result that best applies. A new pin will be placed into the map. The location name should be a clear georeference, e.g. a country, city or address. Make adjustments to the location name if necessary. You can also adjust the position of the pin by dragging it on the map.
If you want to add further details to the location, you can write a (short) description. This could include extra information about the geotag (e.g. the building name or a significant event that took place at the location) or the relevance of the place to the item (e.g. the hometown of the author).
You can also add a Wikidata reference to link the location to a stable source. Search for the reference using the Wikidata fields.
Once you have finished your location tag, click 'SAVE' ( ). Now you can find the place(s) tagged to the item in grey at the bottom of the Location(s) section.
 Step 3: Description
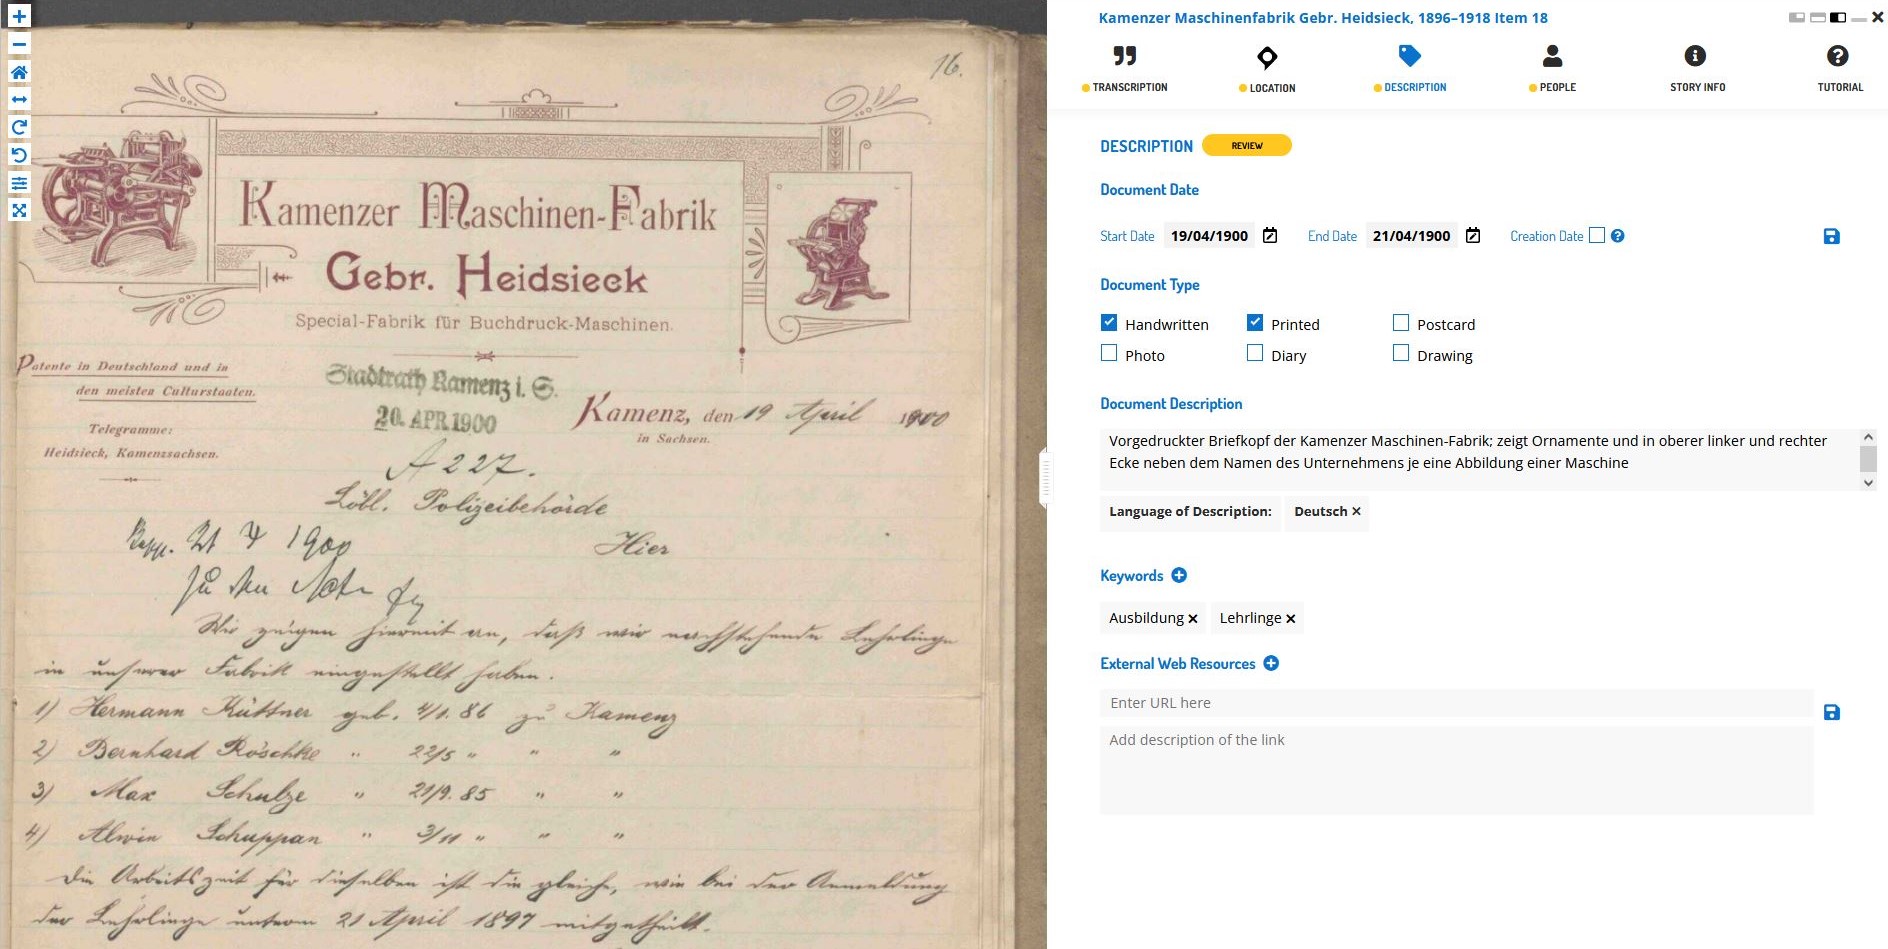
You can add a description and further enrichments to the item underneath the Description section.
Document Date

Here, you can add dates that correspond to the item. This could include the dates mentioned in the text (e.g. in diary pages), the date of a related historical event (e.g. the end of WWI), or when the item was created (e.g. from a dated signature on an illustration). In the latter case, please check the box “Creation Date”. You can either define this as a single date or as a longer time frame.
To tag dates to the item, write the start and end dates in DD/MM/YYYY format in the fields or select the dates by clicking on the calendar.
If you don’t know the exact days, you can also tag the date on the scale of months (MM/YYYY) or years (YYYY).
Once you have finished your date tag, click 'SAVE' icon ( ) on the right.
To delete the date, click on on the right of the date.
Document Type

Identify what type of document the item is: a handwritten or printed document, a postcard, photo, drawing and/or part of a diary. Tick the category which best applies to the item. Multiple categories can be selected at once.
Description
Here, you can write what the item is, what it is about, and specify the images and objects that appear in the item.
Identify the language of the description text that you wrote using the dropdown list underneath. You can only select one language.
Once you have finished your description, click SAVE.
Keywords
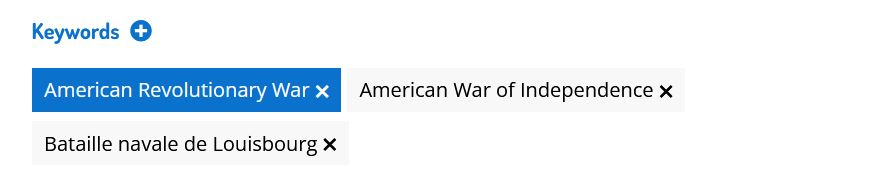
Here, you can freely add keywords related to the topic and content of the item. This could include particular themes (e.g. art, music, war), subjects (e.g. children, cooking, France), or particular historical affiliations (e.g. 20th century, Austro-Hungarian Empire, Fall of the Iron Curtain). You can also choose a keyword from the dropout list when you start typing.
Multiple keywords can be added and they can be written in any language.
Write your keyword tag into the field and click on the 'SAVE' icon ( ).
External Web resources
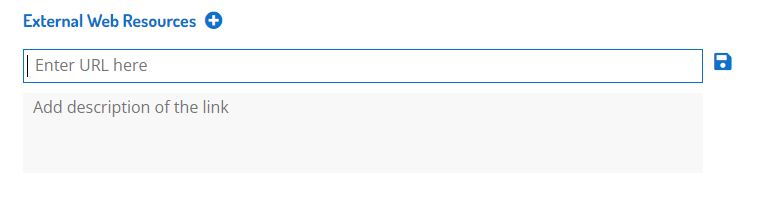
External websites with information about the item’s content can be linked here. This could include links to further data about a person mentioned, a particular historical event or links to digital versions of newspapers that appear in photos or clippings in a notebook.
To add a link, click the plus next to the heading ‘Other Sources’. Enter the URL into the Link field, and write a short description of this link in the Additional Description field.
Multiple links can be tagged to one item.
Step 4: People
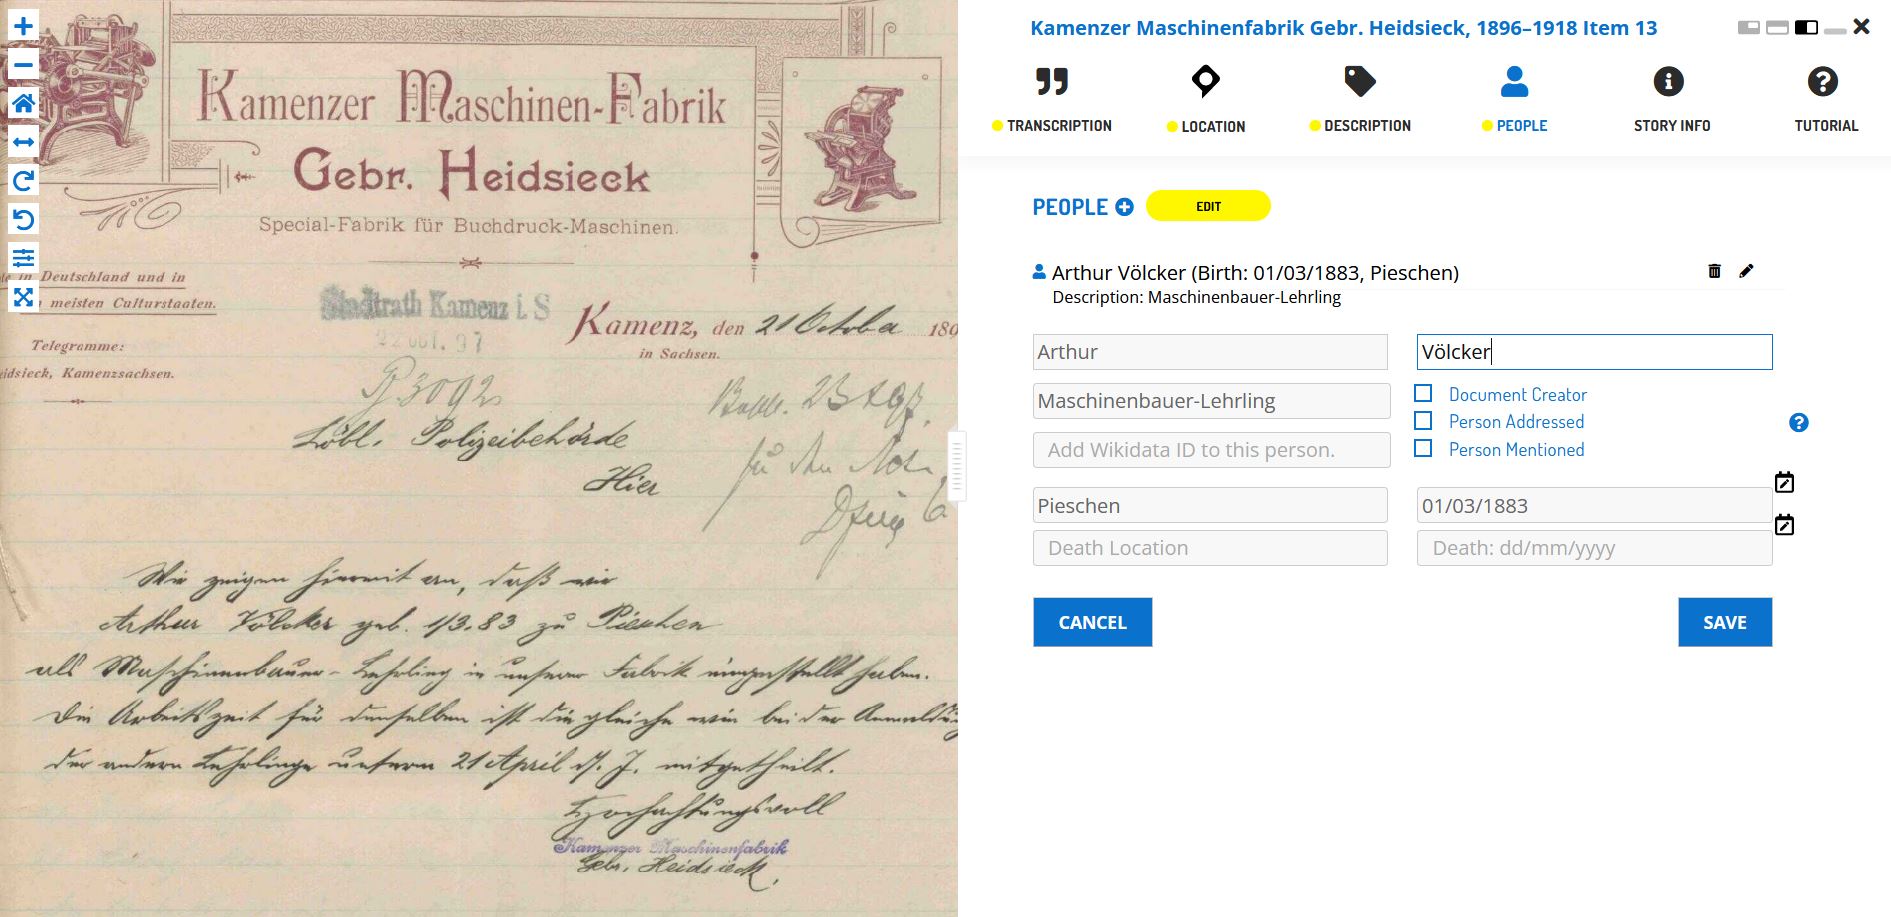
People mentioned as creators or subjects in the item can also be tagged. Depending on the information you might have, you can enter the person’s first and last names, as well as their dates of birth and death. There is also the option to write a short description of the person, explaining who they are or their relevance to the item, e.g. the person’s occupation or their relation to another tagged person.
Please check the correct box to indicate if a person you added is the document creator, a person to whom the document is addressed, or a person simply mentioned in the document.
Multiple people can be tagged to one item.
To add another person, click on the plus icon to the right of the PEOPLE heading.
Once you have finished your person tag, click on the 'SAVE' icon ( ) on the right.
 Step 5: Mark for Review
Once you have saved your contribution, the task will automatically change to the Edit status.
If you think that one of the tasks (Transcription, Description, Tagging) is finished, you can mark it for review. Note that you have to be at Runner level or above to do this (see: Miles and Levels). Click on the yellow circle next to the section heading and select Review. The task now needs to go under review by another volunteer.
Review
 All enrichments need to be edited and reviewed by more than one volunteer to ensure that they are as accurate as possible.
Only Sprinters and Champions can edit tasks in the Review stage and mark them as Completed (see: ‘Miles and Levels’) You can review a task (Transcription, Description, Locations, or Tagging) when the circle next to the heading is coloured orange.
During the review process, pay close attention to the following requirements:
- Transcription: The complete text in the item has been properly transcribed and the transcription is formatted as accurately as possible. The correct language(s) are selected and the transcription contains no missing or unclear icons.
- Description: The description is accurate and detailed (especially items without text to transcribe, e.g. photos), and the appropriate categories have been ticked.
- Locations: All locations have been correctly tagged. The location name is accurate and matches the coordinates and the pin on the map. The description is clear and concise, and the Wikidata reference (if any) is correct.
- Tagging: Document dates are completed and as precise as possible. All mentioned people are tagged and their data is correct. All added keywords are applicable to the item, and other sources have accurate information and functioning links.
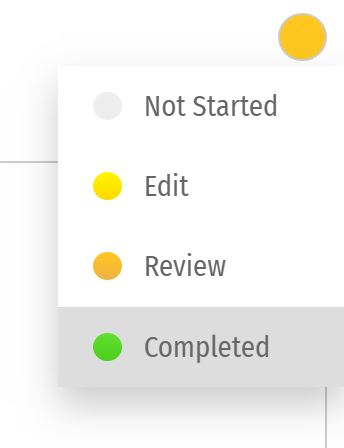
Once you think a task has fulfilled the requirements and is indeed finished, you can mark the task as complete. Click the orange circle next to the section heading and select Completed in the list that appears. When all 4 tasks in the item are finished, the item status will be fully complete and change to green.
Completion Statuses
GREY |
1. NOT STARTED |
Tasks have not been started. |
YELLOW |
2. EDIT MODE |
Tasks have been started, but not yet finished. Additions and edits can still be made. |
ORANGE |
3. REVIEW |
Tasks are finished, but need final review by Sprinter or Champion transcribers. |
GREEN |
4. COMPLETED |
Tasks have been fully completed and reviewed. No further changes need to be made. |
 Automatic Translation and Enrichments
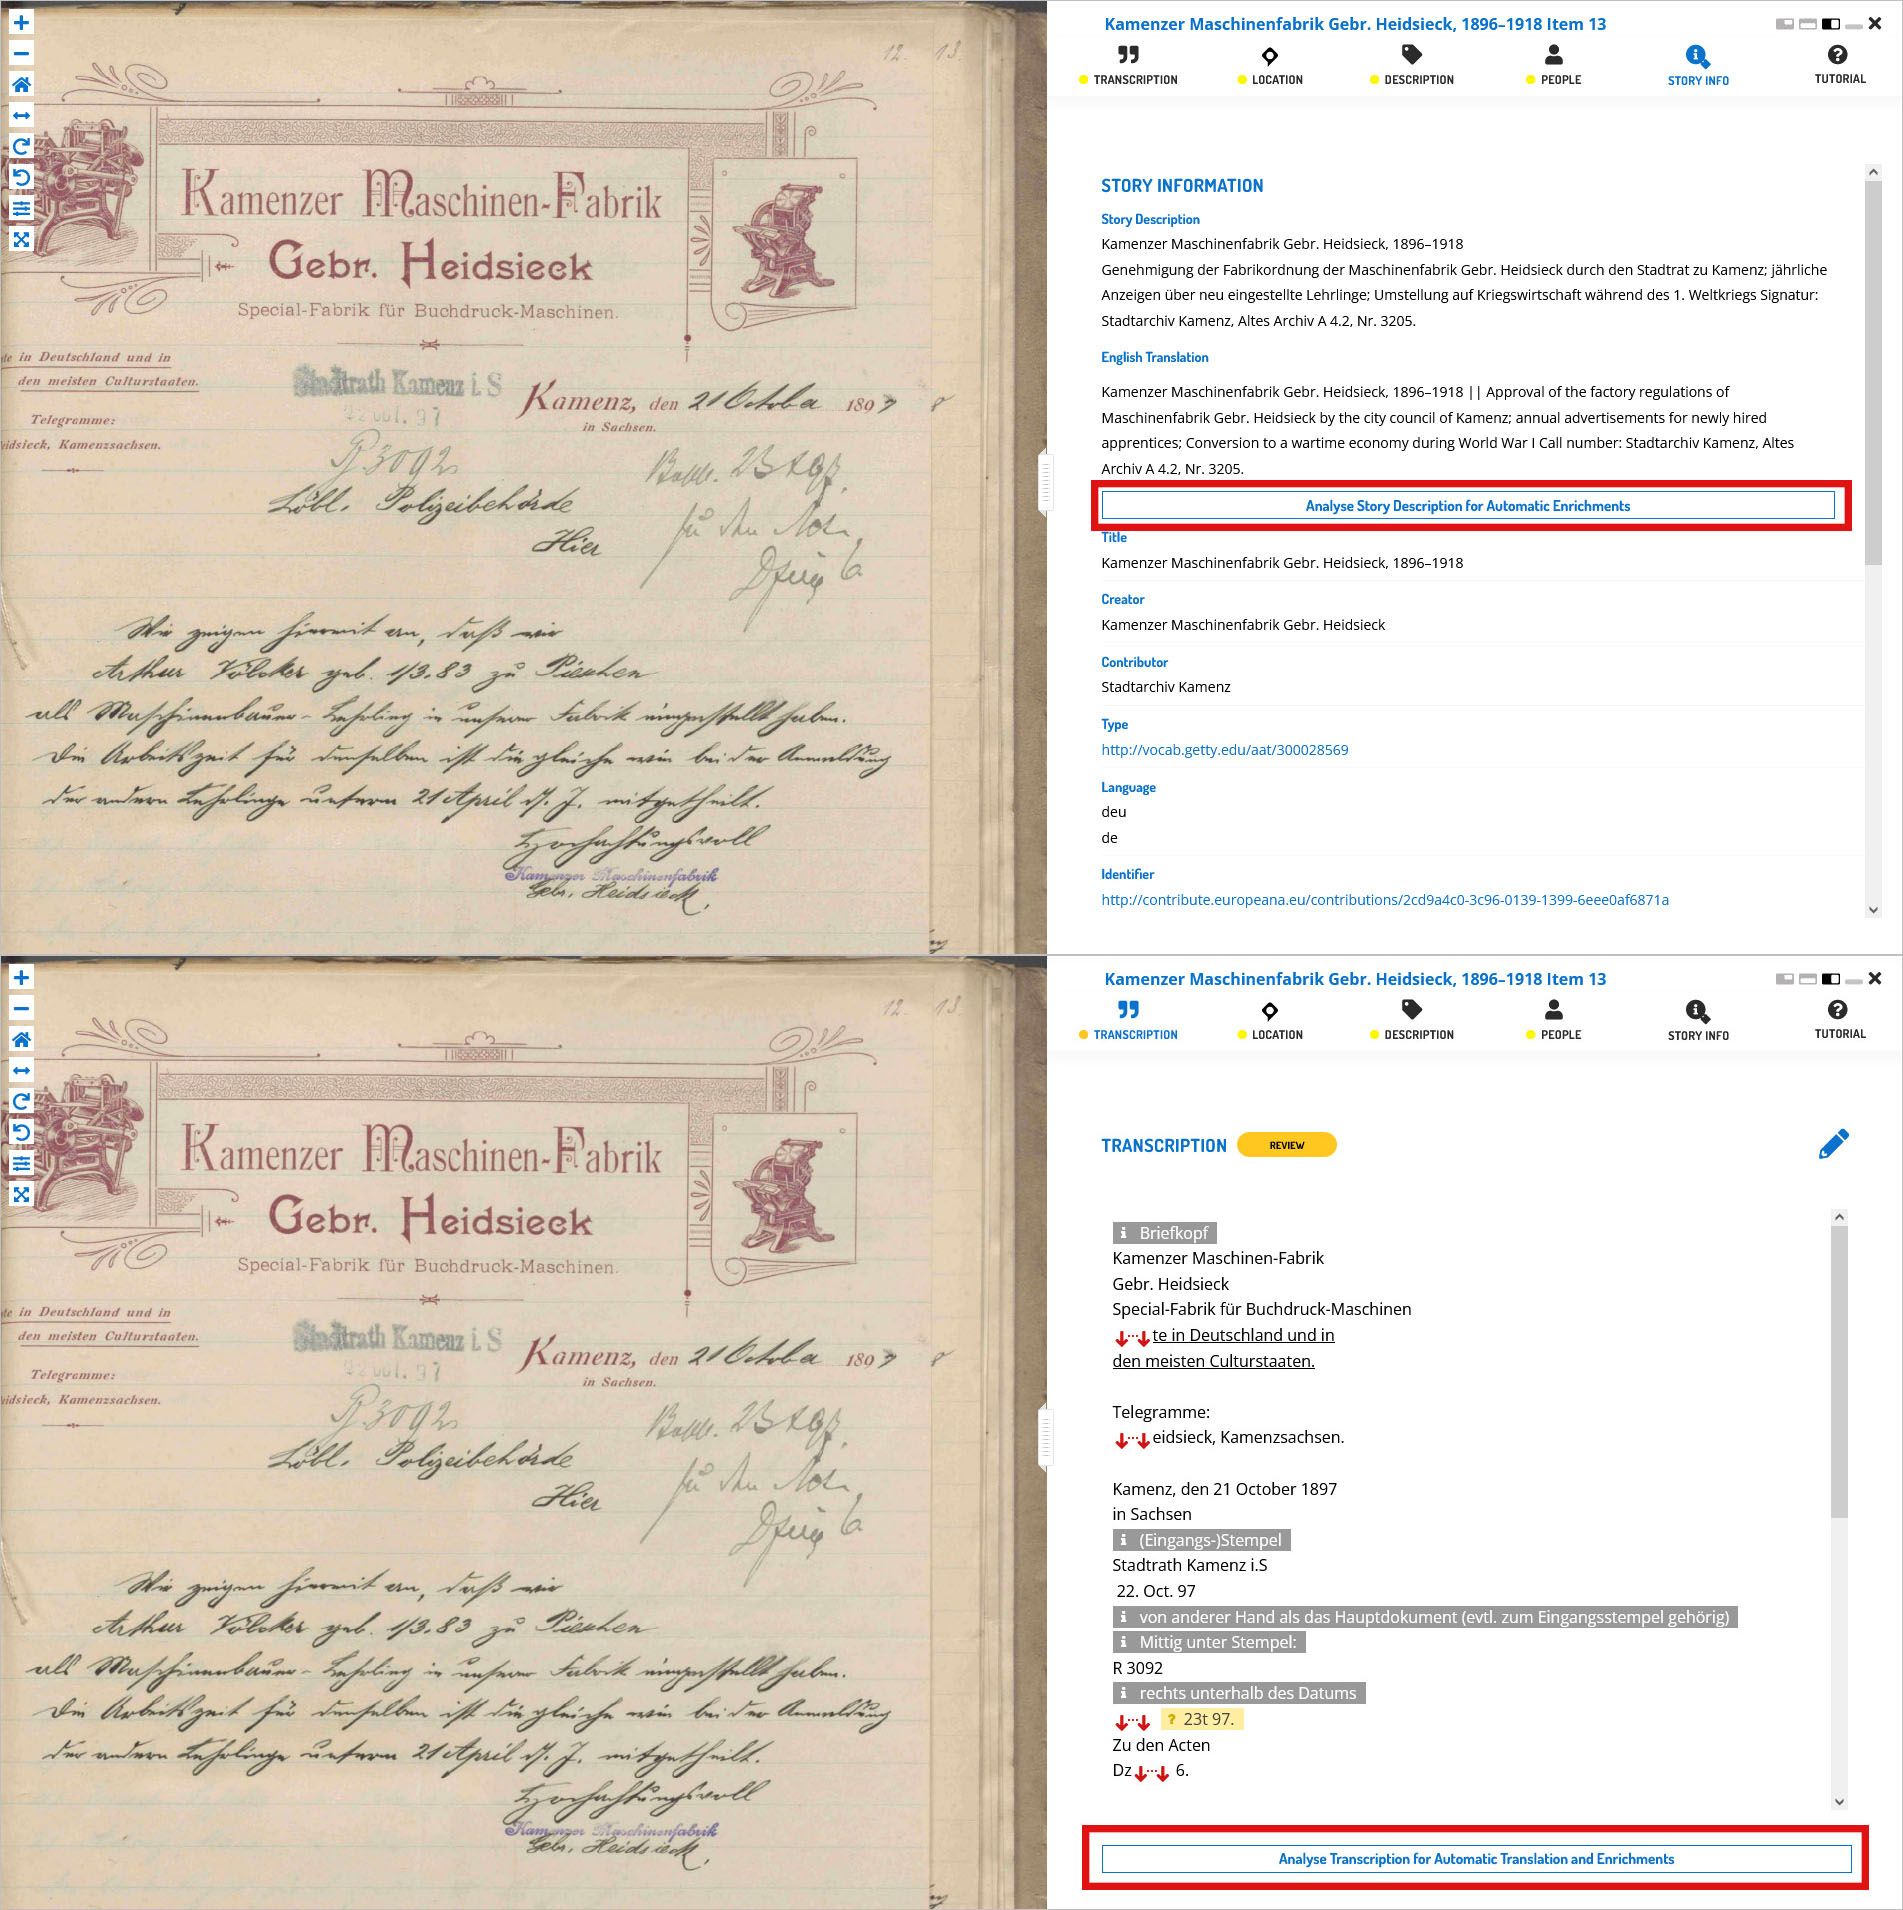
Under the tab ‘Story Info’ on the Activity panel you will find general information about the story that is available for automatic enrichment.
Automatic enrichment is a service that analyses the text and extracts enrichment information such as location, date, people.
In addition to the automatic enrichment based on the Story Info supplied by the provider, it is also possible to analyse user-added transcription once it is set to review. Once the transcription’s status is changed, the button “Analyse Transcription for Automatic Translation and Enrichments” becomes visible. Click on the button to proceed. The analysis might take a couple of seconds. Once the process is finished, the English translation will appear below the transcription. To discover automatic enrichments, click on the type of found Enrichment under the translation section. For example, clicking on “People” ( ) will open the correspondent tab on the Activity Panel.
To validate the correct results just use the toggle next to the suggestion and press “Submit”. The validated result will appear in the list of enrichments with a green check next to it, which indicates that the result has been approved by the user.
 Handwritten Text Recognition (HTR)
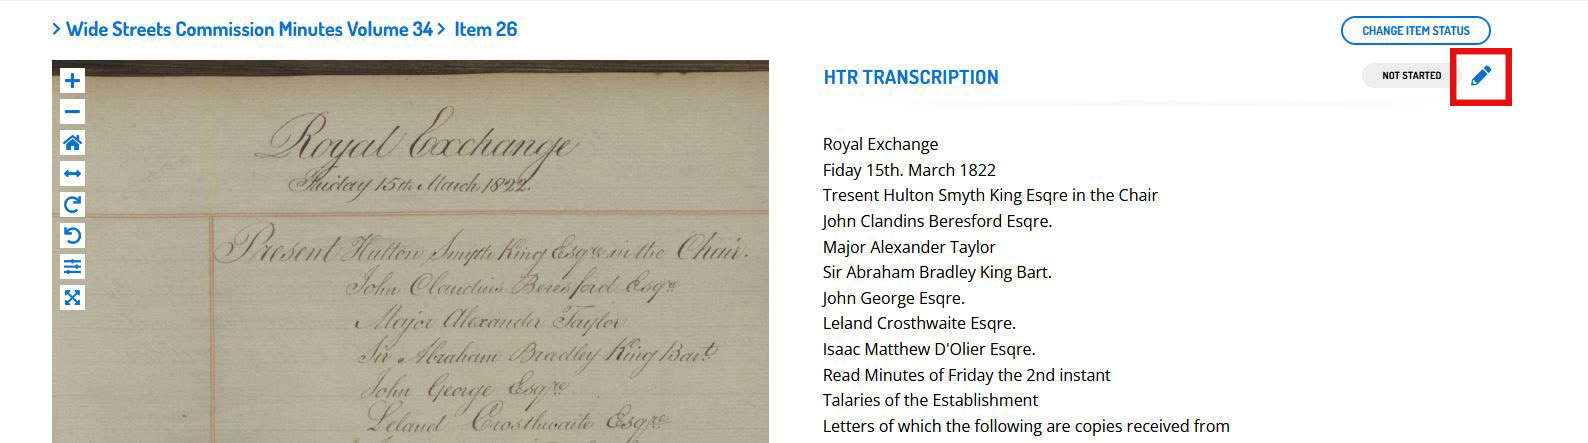
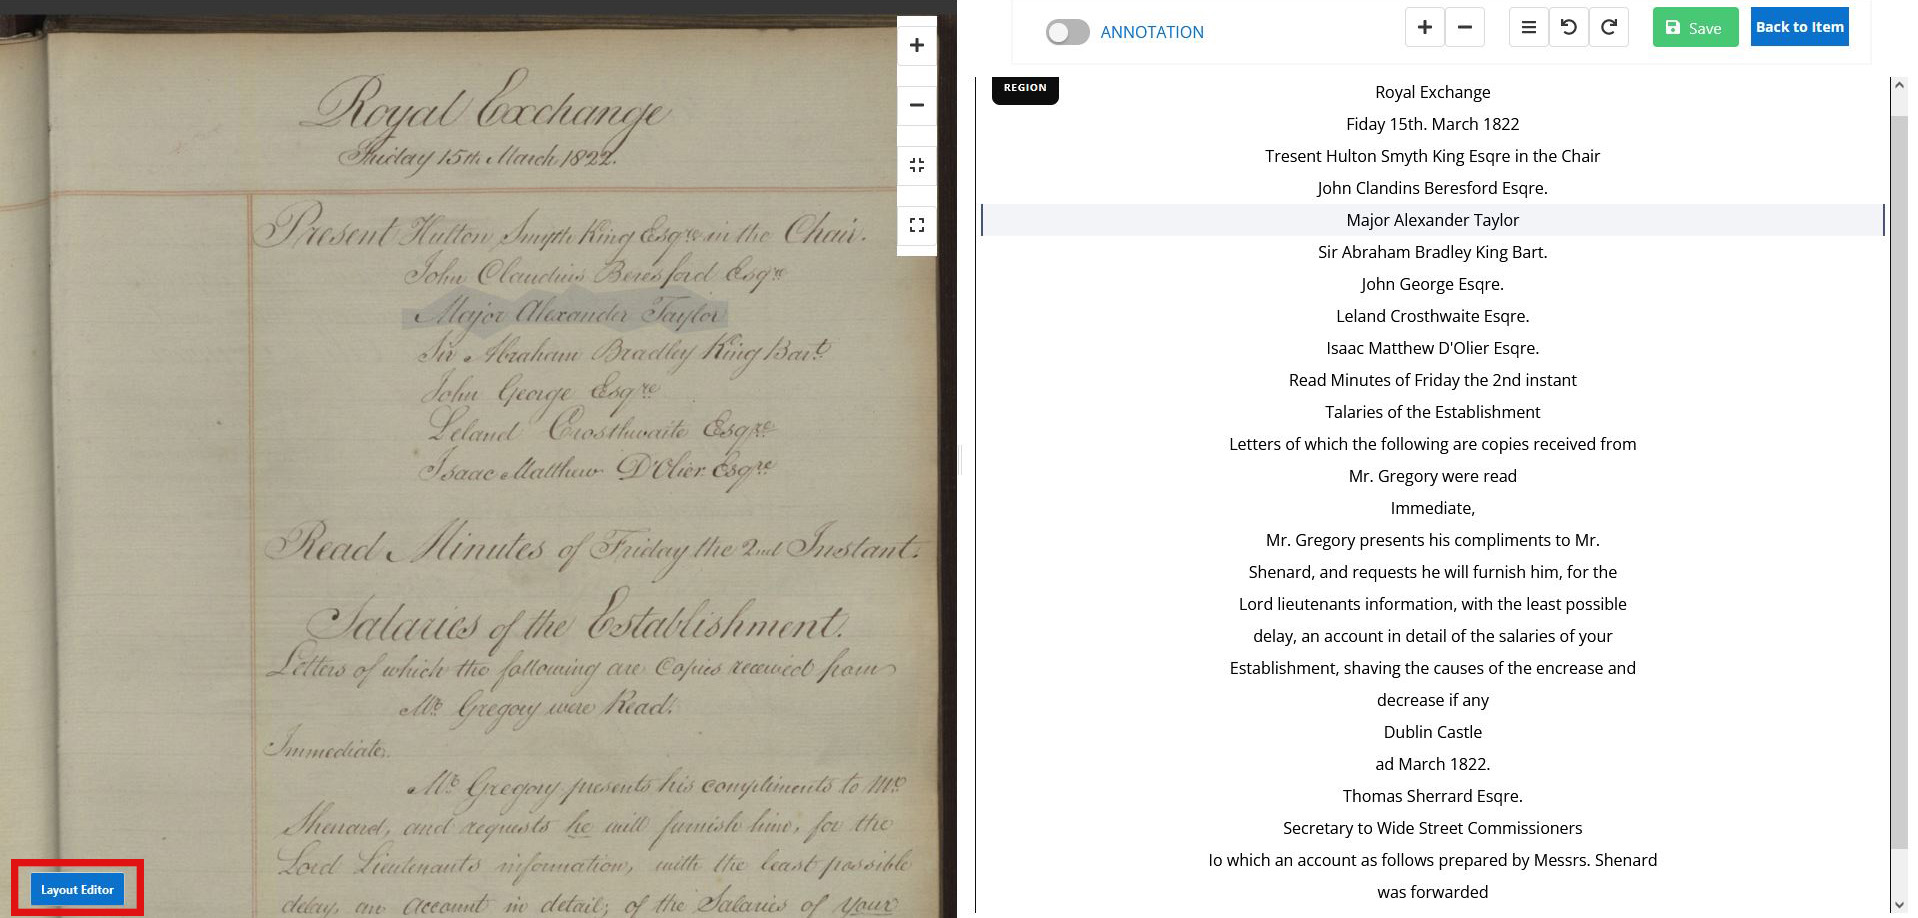
If you would like to edit an item that has been previously run throught HTR, click on the pen icon above the field or select “HTR Editor” underneath the image viewer.
HTR Editor will display the regions and lines. Regions are composed of several lines, e.g. a page out of two-page item, or a separate paragraph. The transcription lines are directly linked to the corresponding ones on the image. Edit the transcription by clicking on the lines of the text, either on the image viewer or the transcription. Upon completion, click “Save” above the transcription.
If the lines or regions are displayed in the wrong order, you can edit the order using the “Layout Editor”.
Miles and Levels
Transcribathon is a competitive marathon. You do not enrich documents alone, but compete and work with other volunteers to ensure the quality of your work. When you first create a Transcribathon account, you only have the ability to start and edit tasks. The more you enrich documents, the closer you become to advancing to a higher level, which can unlock abilities like reviewing and completing tasks.
Level | Abilities |
Trainee | Basic abilities: start and edit tasks |
Runner | Basic abilities, mark finished tasks for review |
Sprinter | All Runner abilities, mark reviewed annotations as completed |
Champion | All Sprinter abilities, mark reviewed transcriptions as completed |
You receive points automatically when you contribute to a task (see: Enrich). These points are called ‘Miles’, signifying the distance you have run since starting the race. In competitive Runs and on our overall Top Transcribers list, your number of Miles are ranked with those of others.
Task | Miles Received |
Transcription | 1 Mile for every 300 characters transcribed |
Description | 1 Mile for every 5 Descriptions added |
Locations | 1 Mile for every 5 Locations added |
Tagging | 1 Mile for every 5 Tags added |
Reviewing | 1 Mile for every 10 items marked as complete |
Trainee |  0 Miles |  5 Miles |  15 Miles |  30 Miles |
Runner |  50 Miles |  75 Miles |  150 Miles |  300 Miles |
Sprinter |  500 Miles |  750 Miles |  1050 Miles |  1300 Miles |
Champion |  1600+ Miles | |||